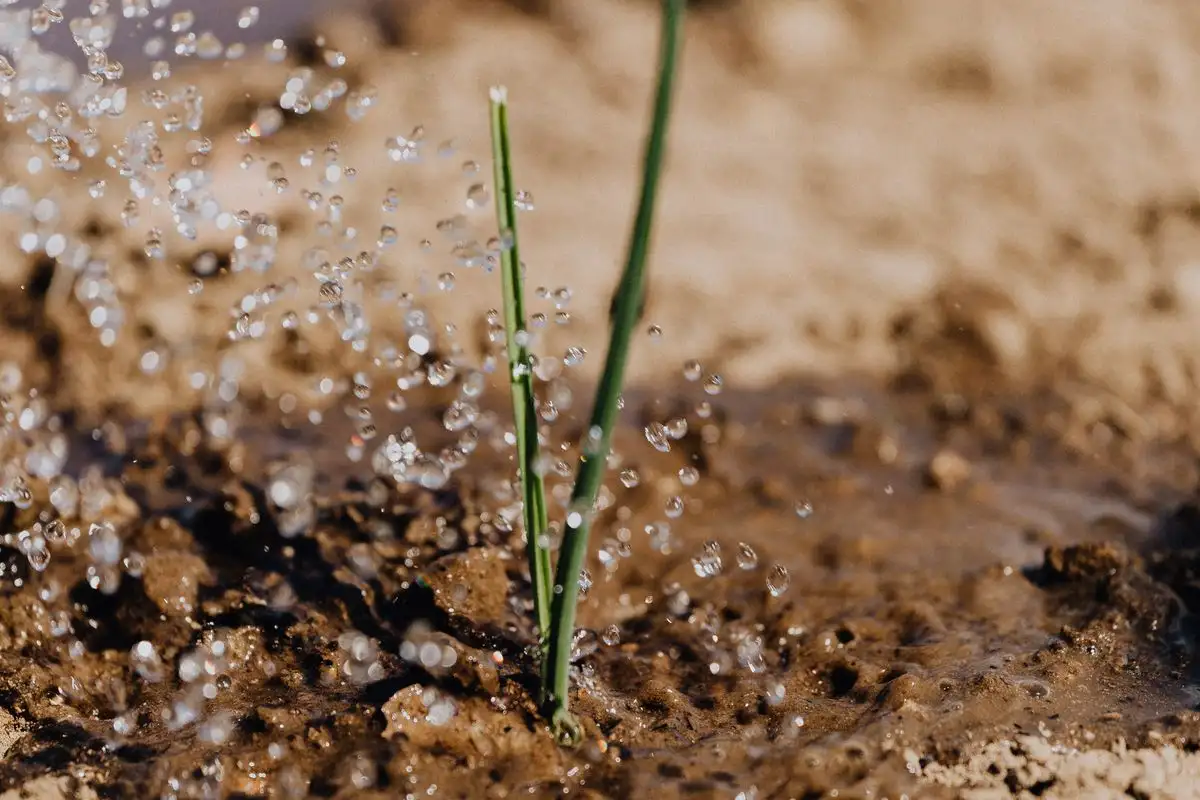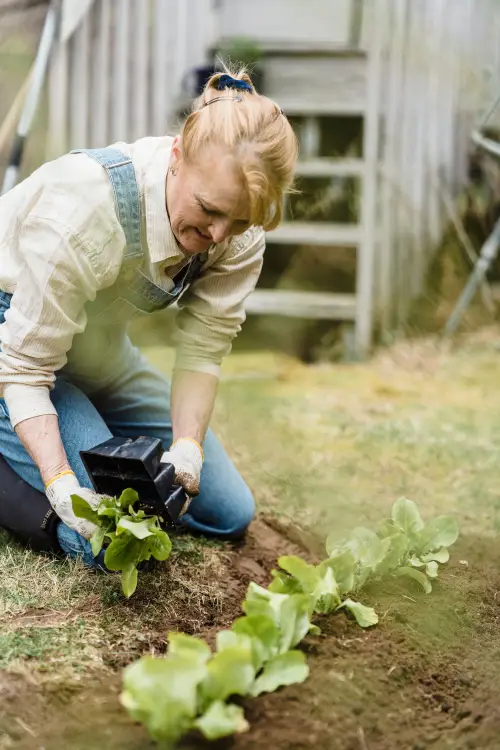
A drip system that waters unevenly is almost never a design failure. It's a maintenance failure, and it comes down to three things that plug emitters: sediment, calcium carbonate left behind by hard water, and biological slime. A filter catches only the first of the three, which is why so many systems look balanced in May and water in stripes by August. What actually keeps lines even is a schedule: flush the lines at full flow once a month, chlorinate only when slime is present and only at the concentration your extension service publishes, and before the first freeze drain every line and bring the removable parts indoors.
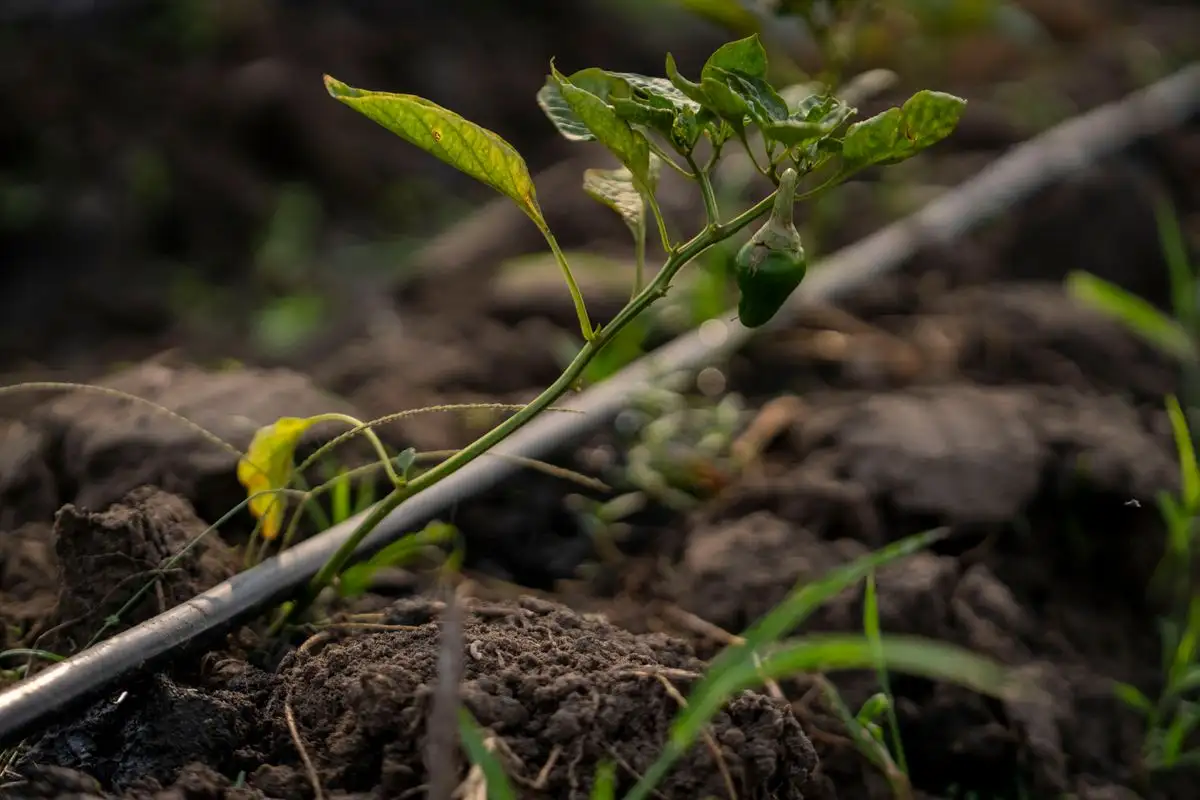
Kneel at the end of my second raised bed on a hot August afternoon and you'd see what sent me down this road. A pepper plant with its leaves folded up like a closed taco, while the plant three feet upstream is glossy and upright. Follow the line under the mulch toward the sad one and the soil is dry — not damp-dry, dust dry, the kind that puffs when you poke it. Two emitters back, the soil is soaked and a puddle is creeping toward the path.
My first move was the wrong one, and it's the move most of us make: I redesigned the bed in my head. The run is too long. I need a shorter lateral. I need different emitters. So I screwed a gauge onto the end of the run and read it, and the pressure was sitting exactly where those emitters wanted it. The layout was fine. The same layout had watered that bed beautifully in June.
So I pulled the emitter nearest that pepper plant. From the outside it looked clean. I cut it lengthwise with a utility knife, and there it was — a thin, chalky white band packed into the little labyrinth where the water is supposed to slow down. Not a design problem at all.
Three things fit inside one emitter, and they need three different answers
You can usually tell which clog you're dealing with by feel, and that matters, because a filter helps with one of them, flushing helps with another, and only chlorination touches the third.
Grit: the one a filter actually solves
Sediment — fine sand, rust flakes, bits of organic matter — is what a filter is for. On a garden system the standard protection is a 150- to 200-mesh screen or a disc filter placed right after the pressure regulator and before the first line. Mesh size is a real number, not a marketing word. The finer the screen, the more it catches and the faster it loads up.
Grit feels like sand between your fingers. If the stuff in your emitter is gritty, your filter is missing, undersized, or overdue for a rinse. And a loaded screen becomes its own problem: flow drops, the whole zone starves, and from ten feet away that looks exactly like fifty clogged emitters. Clean the screen every time you flush, and check the housing O-ring while it's open.
The white crust: hard water leaving its calling card
Dissolved calcium and magnesium pass straight through a 200-mesh screen, because they're in the water rather than in it. Where the water slows down inside the emitter — and slowing water down is the entire job of an emitter — some of that calcium carbonate drops out of solution and sticks. It builds a hard, brittle, whitish ring around the outlet or inside the channel. It looks like the crust on an old faucet aerator because it is the same crust.
You can chip it out with a fingernail. It comes back. In hard water this is the clog that quietly shaves a percentage off your flow every month, and no filter on the market will stop it.
The slippery film: slime
The third one is alive. Biological slime — algae, bacteria, fungal film, whatever is growing in your water and your tubing — shows up as a translucent or greenish-brown coating on the inside walls, slick to the touch, sometimes with a pond smell when you catch a bucket of flush water. It grows fastest in warm, stagnant, low-flow water, which is a fair description of the inside of a drip line in July.
This is the one people try to fix by flushing harder, and flushing alone doesn't do it. You can blow a line clear and have it slimed again in three weeks, because you removed the growth and left the conditions. Slime is managed by chlorination, and that's the one part of this I won't improvise.
Flushing is half the job, and it's the half nobody does
Open the ends of every line and let water run at full flow. That's the whole technique. Full flow, not drip flow, because a trickle won't carry grit out of a lateral — it just stirs it around.
The reason people skip it is that it's miserable unless the system was built for it. If every run ends in a crimped figure-eight of tubing, you'll flush once, hate it, and never do it again. End caps or flush valves at the end of each run turn the job into two minutes per zone, and that's the only upgrade I'd argue for before you spend money on anything else.
Run one zone at a time so each gets full pressure. Let each line run until what comes out the far end looks as clear as what goes in. Catch the first few seconds in a white bucket: grit settles at the bottom, slime coats the walls, hard water leaves a ring. That bucket tells you which of the three clogs you're managing this month, and looking costs nothing.
Monthly is a reasonable interval for a municipal supply with a filter in place. Flush more often on brand-new lines, since they carry manufacturing fines, and on anything fed from a well, a cistern, or a rain barrel. Flush after any break or repair, too — that's when debris gets into the line.
When flushing stops being enough
Flushing carries out loose sediment, and it knocks back the soft outer layers of mineral deposit, which is why hard-water systems usually look better for a week or two after a good flush. It does not remove a set crust, and it does nothing durable about slime.
For slime, go to your state extension service's drip irrigation maintenance publication. Those guides give you the parts that matter: a target free-chlorine concentration in the water, a contact time, and often a pH adjustment, because chlorine works far better in slightly acidic water. Some describe continuous low-level injection during normal irrigation; others describe periodic shock treatments. Either way, the concentration is calculated against your line volume and your water, not poured in by eye. Improvised dosing is how people either burn the edges off their leaves or accomplish nothing at all.
If you feed your system from a rain barrel or a pond, the guidance matters even more, because you're starting with whatever is already growing in that water. And if you'd rather not handle chlorine at all, there's an honest alternative: accept that slime will shorten emitter life, and plan on replacing emitters more often. That's a legitimate tradeoff, not a failure.
The two hours that decide next spring
Freeze damage isn't subtle, but it's patient. Water left inside lines and fittings expands and splits them, and drip tubing doesn't burst the way copper does — it cracks along the wall, or splits the barb on a fitting, or opens a seam you can't see until April, when twenty feet of bed turns into a swamp.
Shut off the source and relieve the pressure first. Then open every flush valve, end cap, and hose end — all of them, including the run you forgot behind the shed. Gravity does most of the work. Where a line runs dead level, lift one end and walk the water out toward the other. If you're considering compressed air, know that it's a tool for systems built for it and that excess pressure will shoot emitters off the line or wreck the diaphragm; plenty of small garden systems should simply be drained, not blown.
Bring in everything with a sealed cavity: the timer, the backflow preventer, the pressure regulator, the filter housing, the quick-connects, anything you can unscrew. A timer holding a tablespoon of water is a timer you replace in spring. Pull removable emitters and store them dry indoors. Roll thin-walled drip tape and store it inside if you have the space. Leave the ends of anything staying out there open over winter, so whatever water remains has somewhere to go besides through the wall of the tubing.
If the tape is staying in the garden year-round, remember it's facing ultraviolet light, and thin-walled drip tape does not enjoy UV. Two seasons of full sun makes it brittle enough to crack when you unroll it. Burying it an inch under soil or covering it with a few inches of mulch gets you years instead of seasons. That has nothing to do with winter, but it's the same habit of thinking about where those lines live.
The walk that closes the loop
The rest of your leaks aren't freeze damage. Rodents chew drip tubing — a dry stretch in late summer sends them looking for the wettest line under the mulch — and string trimmers and shovels handle the rest. Most of that damage shows up as pinholes, and a pinhole is invisible until you're standing in the wet spot it made.
So at the start of the season, before you plant into anything, turn the system on zone by zone and walk the lines. Not a glance from the porch. Walk them, look at the soil along each run, and hunt for dark patches and soft spots. A fountain at a joint is obvious. A pinhole usually announces itself as a dinner-plate-sized wet patch on the mulch. Repair with a coupler and two barbed fittings rather than tape, because taped repairs let go in the heat.
While you're out there, watch the last emitter on the longest run. That one tells you the truth about the whole zone. If it's weak in April, with a clean filter and fresh water, something else is going on and it's worth tracking down. If it's strong in April and weak in August, you've just measured the drift.
That's the part I'd want a new drip gardener to hear before they buy anything. Drip systems don't fail, they drift. Every emitter loses a little flow to something — a grain of grit, a film of slime, a ring of calcium — and the loss stays invisible until one plant crosses the line from fine to wilted. By then you're standing in front of a bed that watered perfectly in June, certain the layout is wrong, ready to replace parts that were never the problem.
It's a calendar, not a redesign. Flush monthly. Chlorinate when you've got slime, at the concentration your extension publication gives you. Put the whole thing to bed dry before the first freeze, and walk it before you plant. The same cheap emitter that clogged in August will still be watering evenly three seasons from now.